When Media Cleaner runs a scan, it doesn’t change or delete any of your files. It simply detects media that may not be in use and shows them to you so you can review the results yourself. Think of it as a visual aid to help you decide what’s safe to remove.
By default, the results are ordered by file size, so the heaviest media appear first.
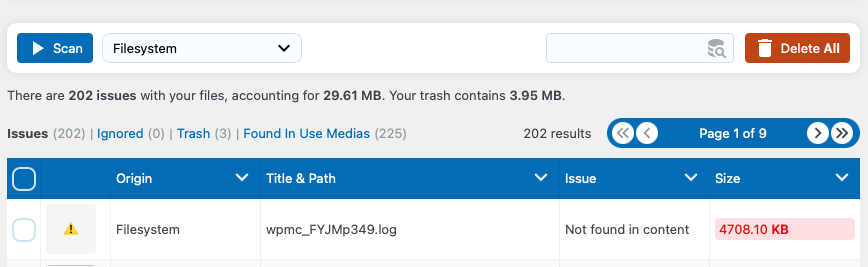
You can choose to click Delete All to move all detected items to the trash, or select them individually, page by page, using the checkbox in the table header. When you delete them, the files are moved to a Trash section (located in /uploads/trash). At this point, the files still exist on your server but are no longer referenced on your website. This gives you time to check your site for missing content and catch any false positives.
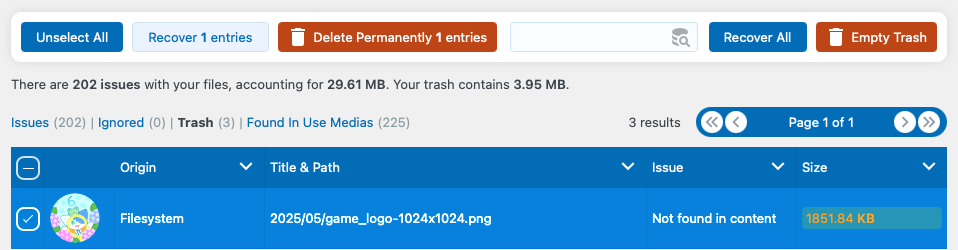
If something is missing after deletion, no worries — you can restore it. Go to the Trash section, select the file(s), and use the Recover option. This moves the file from the trash folder back to its original location, making it available on your site again.
If everything looks good and you have a full backup, you can empty the trash. Be aware that this permanently deletes the files — there’s no going back after that, which is why keeping a backup is mandatory.